


Hey there! As a supplier of 3U rack boxes, I'm stoked to share the installation instructions with you. Whether you're a newbie or a seasoned pro, these steps will help you get your 3U rack box up and running in no time.
What You'll Need
Before we dive into the installation process, let's talk about the tools and materials you'll need. Here's a quick list:
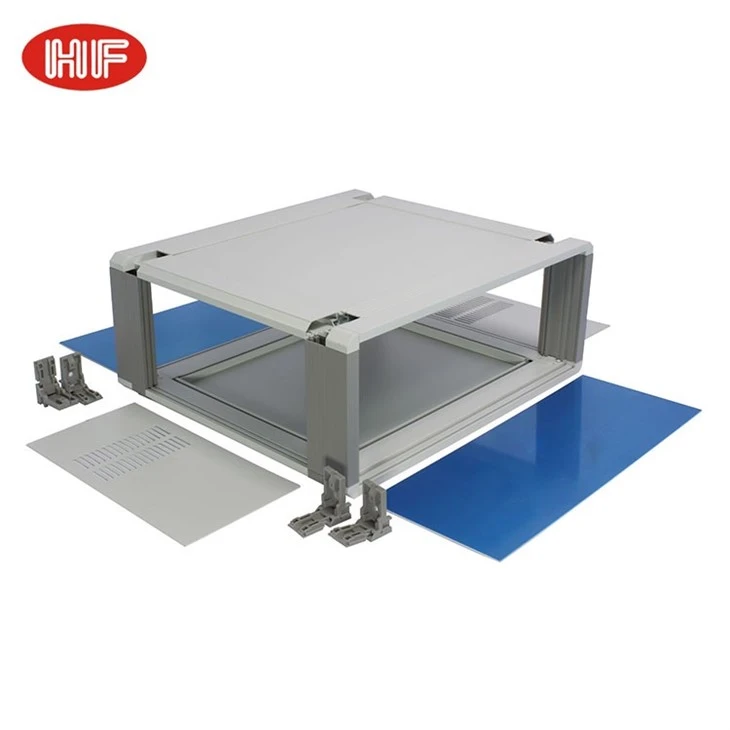

- Screwdriver: A Phillips-head screwdriver is usually the go-to for most rack box installations. Make sure it's the right size for the screws on your box.
- Rack Rails: These are essential for mounting the rack box in your server rack. Make sure they're compatible with your rack and the 3U rack box.
- Cables: You'll need power cables, network cables, and any other cables required for your specific setup.
- Antistatic Wrist Strap: This helps prevent static electricity from damaging your components. It's a good idea to wear one when handling sensitive electronics.
Step 1: Prepare Your Rack
The first step is to prepare your server rack. Make sure it's clean, level, and has enough space for the 3U rack box. You'll also want to ensure that the rack is properly grounded to prevent electrical hazards.
If you're using rack rails, install them in the rack according to the manufacturer's instructions. Make sure they're securely attached and aligned properly.
Step 2: Unpack Your 3U Rack Box
Once your rack is ready, it's time to unpack your 3U rack box. Carefully remove it from the packaging and inspect it for any damage. If you notice any issues, contact us right away, and we'll take care of it.
Step 3: Mount the Rack Box
Now it's time to mount the 3U rack box in the rack. Slide the box onto the rack rails and align it with the mounting holes. Use the screws provided to secure the box to the rails. Make sure the screws are tightened securely, but don't over-tighten them, as this could damage the box or the rails.
Step 4: Install Your Components
With the rack box mounted, it's time to install your components. This could include servers, switches, routers, or any other equipment you plan to use. Make sure you follow the manufacturer's instructions for installing each component.
When installing components, it's important to pay attention to the airflow. Make sure there's enough space between components to allow for proper ventilation. This will help prevent overheating and ensure the longevity of your equipment.
Step 5: Connect Your Cables
Once your components are installed, it's time to connect your cables. Start by connecting the power cables to the components and the power supply. Make sure the power supply is properly grounded and rated for the total power consumption of your equipment.
Next, connect the network cables to the components and the network switch. Make sure the cables are properly labeled and organized to make troubleshooting easier.
Step 6: Test Your Setup
With everything connected, it's time to test your setup. Power on the rack box and your components and check for any errors or issues. Make sure all the lights are on and that the equipment is functioning properly.
If you encounter any problems, refer to the manufacturer's troubleshooting guide or contact us for assistance. We're here to help you get your setup up and running smoothly.
Step 7: Secure Your Rack
Once you've tested your setup and everything is working properly, it's time to secure your rack. Make sure all the cables are neatly organized and secured to prevent them from getting tangled or damaged. You may also want to consider using cable management solutions to keep your cables organized and tidy.
Additional Tips
- Read the Manual: Before starting the installation process, make sure you read the manual that came with your 3U rack box. It contains important information and instructions that will help you install the box correctly.
- Take Your Time: Installation can be a time-consuming process, especially if you're new to it. Take your time and follow the steps carefully to ensure a successful installation.
- Ask for Help: If you're unsure about any step of the installation process, don't hesitate to ask for help. You can contact us or consult with a professional installer.
Related Products
If you're interested in other types of rack boxes or related products, check out our Electronic Iron Metal Project Box With Plastic Frame, Aluminum Motherboard Rack Computer Server Case, and Aluminum Chassis Box Metal Junction Case. These products are high-quality and offer excellent value for money.
Contact Us for Purchase
If you're interested in purchasing a 3U rack box or any of our other products, we'd love to hear from you. We offer competitive prices, high-quality products, and excellent customer service. Whether you have questions about our products, need help with installation, or are ready to place an order, don't hesitate to reach out. Let's start a conversation and find the perfect solution for your needs.
References
- Server Rack Installation Guide. (n.d.). Retrieved from various industry-standard server rack installation resources.
- Component Manufacturer Manuals. (n.d.). For specific component installation and configuration details.


