


Is it easy to assemble a 4U rackmount case? This is a question that many potential buyers and tech enthusiasts often ask. As a supplier of 4U rackmount cases, I'm here to provide an in - depth analysis of this topic.
Understanding the 4U Rackmount Case
First, let's clarify what a 4U rackmount case is. In the world of server racks and equipment enclosures, the "U" is a standard unit of measurement. One "U" is equal to 1.75 inches (44.45 mm). So, a 4U rackmount case has a height of 7 inches (177.8 mm). These cases are commonly used to house servers, networking equipment, and other electronic devices in a rack - mounted environment.
Factors Affecting the Assembly Difficulty
1. Design Complexity
The design of the 4U rackmount case plays a crucial role in the assembly process. Some cases are designed with simplicity in mind. They come with pre - drilled holes that are precisely aligned, making it easy to attach components such as hard drives, motherboards, and power supplies. For example, our company's 4U rackmount cases are engineered with a modular design. This means that different parts of the case are designed to fit together seamlessly, reducing the time and effort required for assembly.
On the other hand, some low - quality or poorly designed cases may have misaligned holes or parts that don't fit together properly. This can lead to a frustrating assembly experience, as you may have to spend extra time filing, sanding, or adjusting the parts to make them fit.
2. Included Hardware
The hardware included with the case also affects the ease of assembly. A good 4U rackmount case should come with all the necessary screws, brackets, and stand - offs. Our cases are supplied with high - quality hardware that is designed to last. The screws are of the correct size and thread pitch, ensuring a secure fit. Additionally, we provide clear instructions on how to use each piece of hardware, which further simplifies the assembly process.
In contrast, some suppliers may skimp on the hardware, providing only a basic set or low - quality screws that may strip easily. This can make it difficult to attach components securely and may even lead to damage to the case or the components.
3. Component Compatibility
Ensuring that the components you plan to install in the 4U rackmount case are compatible is essential. Our cases are designed to be compatible with a wide range of industry - standard components. For example, they can accommodate standard ATX motherboards, which are widely used in server and desktop applications. This compatibility reduces the risk of compatibility issues during assembly.
However, if you try to install non - standard or custom - sized components, you may encounter problems. The components may not fit properly, or you may need to make significant modifications to the case, which can be time - consuming and may void the warranty.
The Assembly Process Step - by - Step
Let's take a look at the typical assembly process of a 4U rackmount case:
1. Unpacking and Inspection
The first step is to unpack the case and inspect all the parts. Check for any damage during shipping and make sure that all the included hardware is present. This is also a good time to familiarize yourself with the different parts of the case and the instructions.
2. Installing the Power Supply
The power supply is usually one of the first components to be installed. Our cases have a dedicated power supply bay that is designed to fit standard power supplies. Simply slide the power supply into the bay and secure it using the provided screws.
3. Mounting the Motherboard
Next, you'll need to mount the motherboard. Place the stand - offs in the appropriate holes on the case, and then carefully place the motherboard on top of them. Align the holes on the motherboard with the stand - offs and secure the motherboard using the screws.
4. Installing Hard Drives and Other Components
After the motherboard is installed, you can install the hard drives, optical drives, and other components. Our cases have dedicated bays for hard drives, which are designed to hold the drives securely. You can use the provided brackets and screws to attach the drives to the case.
5. Connecting Cables
Finally, you'll need to connect all the cables, including the power cables, data cables, and front - panel connectors. Our cases are designed with cable management in mind, with pre - routed cable channels and tie - down points. This makes it easy to organize the cables and keep them out of the way, reducing the risk of interference and overheating.

Our Product Range and Advantages
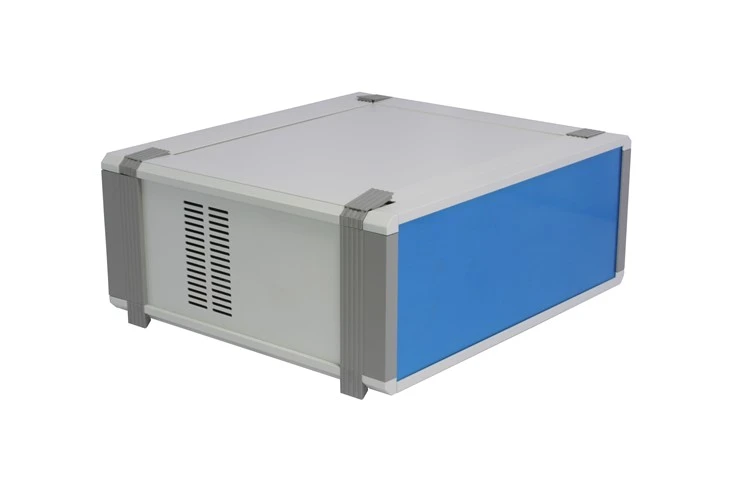
As a supplier of 4U rackmount cases, we offer a wide range of products to meet the needs of different customers. In addition to our standard 4U rackmount cases, we also offer related products such as Aluminum Case Plastic Frame Chassis Box, Industrial Desktop Aluminum Profiles Power Supply Medical Test Electronic Enclosure, and Factory Suppliers Aluminum Extruded Electronic Housing Electronic Devices.
Our products are made from high - quality materials, such as aluminum and steel, which provide excellent durability and protection for your components. We also offer customization options, allowing you to tailor the case to your specific requirements. Whether you need a case with a specific color, size, or additional features, we can work with you to create a custom solution.
Conclusion
In conclusion, assembling a 4U rackmount case can be easy if you choose the right product. Our company's 4U rackmount cases are designed with simplicity, compatibility, and durability in mind. With a modular design, high - quality hardware, and clear instructions, our cases make the assembly process a breeze.
If you're interested in purchasing a 4U rackmount case or any of our other products, we invite you to contact us for procurement and negotiation. We're committed to providing you with the best products and services at competitive prices.
References
- "Server Rack Installation Guide", Industry Standard Publications
- "Electronic Enclosure Design Principles", Techno - Engineering Journal


