


Adding a window to a metal enclosure box can be a practical and aesthetically pleasing modification, especially for applications where visual monitoring of the internal components is necessary. As a metal enclosure box supplier, I understand the importance of precision and functionality in this process. In this blog post, I'll guide you through the steps of adding a window to a metal enclosure box, from planning to execution.
Planning the Window Addition
Before you start cutting into your metal enclosure box, it's crucial to plan the window addition carefully. Here are some key considerations:
1. Purpose of the Window
Determine why you need a window in the enclosure box. Is it for visual inspection of the internal components, to monitor the status of indicators, or for other reasons? Understanding the purpose will help you decide on the size, shape, and location of the window.
2. Size and Shape
The size and shape of the window should be based on the purpose and the available space on the enclosure box. Consider the size of the components you want to view through the window and ensure that the window is large enough to provide a clear view. Common shapes for windows include rectangles, squares, and circles.
3. Location
Choose a location for the window that provides easy access to the area you want to view. Avoid placing the window near sharp edges, corners, or areas where it may interfere with the operation of the enclosure box. Also, consider the structural integrity of the enclosure box when selecting the location.
4. Material for the Window
Select a suitable material for the window based on the requirements of your application. Common materials for windows in metal enclosure boxes include clear acrylic, polycarbonate, and tempered glass. Each material has its own advantages and disadvantages, so choose the one that best meets your needs.
Tools and Materials Needed
Once you have planned the window addition, gather the necessary tools and materials. Here's a list of what you'll need:
Tools
- Measuring tape
- Marker or scribe
- Drill
- Hole saw or jigsaw
- File or sandpaper
- Screwdriver
- Sealant gun
Materials
- Metal enclosure box
- Window material (clear acrylic, polycarbonate, or tempered glass)
- Rubber gaskets or seals
- Screws or rivets
- Sealant
Step-by-Step Guide to Adding a Window
1. Measure and Mark the Window Location
Using a measuring tape and a marker or scribe, measure and mark the location of the window on the metal enclosure box. Make sure the marks are accurate and straight. Double-check the measurements to ensure that the window will fit properly.
2. Drill Pilot Holes
Using a drill, drill pilot holes at the corners of the window opening. The size of the pilot holes should be slightly smaller than the diameter of the screws or rivets you'll be using to attach the window.
3. Cut the Window Opening
Using a hole saw or jigsaw, carefully cut out the window opening along the marked lines. Take your time and make sure the cuts are straight and smooth. Use a file or sandpaper to smooth the edges of the window opening.
4. Prepare the Window Material
Cut the window material to the appropriate size and shape using a saw or a laser cutter. Make sure the window material fits snugly into the window opening. Use a file or sandpaper to smooth the edges of the window material.
5. Install the Rubber Gaskets or Seals
Place rubber gaskets or seals around the edges of the window opening to provide a watertight and airtight seal. Make sure the gaskets or seals are properly seated and that there are no gaps or wrinkles.
6. Attach the Window to the Enclosure Box
Place the window material over the window opening and align it with the pilot holes. Insert screws or rivets through the pilot holes and into the window material to secure it to the enclosure box. Make sure the screws or rivets are tightened securely, but not too tightly, to avoid cracking the window material.
7. Apply Sealant
Using a sealant gun, apply a bead of sealant around the edges of the window to provide an additional seal. Make sure the sealant is evenly applied and that there are no gaps or bubbles.
8. Clean and Inspect the Window
Once the sealant has dried, clean the window with a soft cloth and a mild cleaning solution. Inspect the window to make sure it is properly installed and that there are no leaks or gaps.
Benefits of Adding a Window to a Metal Enclosure Box
Adding a window to a metal enclosure box offers several benefits, including:

1. Visual Monitoring
A window allows you to visually monitor the internal components of the enclosure box without having to open it. This can be useful for troubleshooting, maintenance, and quality control.
2. Aesthetics
A window can enhance the appearance of the enclosure box, making it more visually appealing. This can be especially important for applications where the enclosure box is on display or visible to the public.
3. Safety
A window can provide a safe way to view the internal components of the enclosure box without exposing yourself to potential hazards. This can be particularly important for applications where the enclosure box contains high-voltage or hazardous materials.
Our Metal Enclosure Box Products
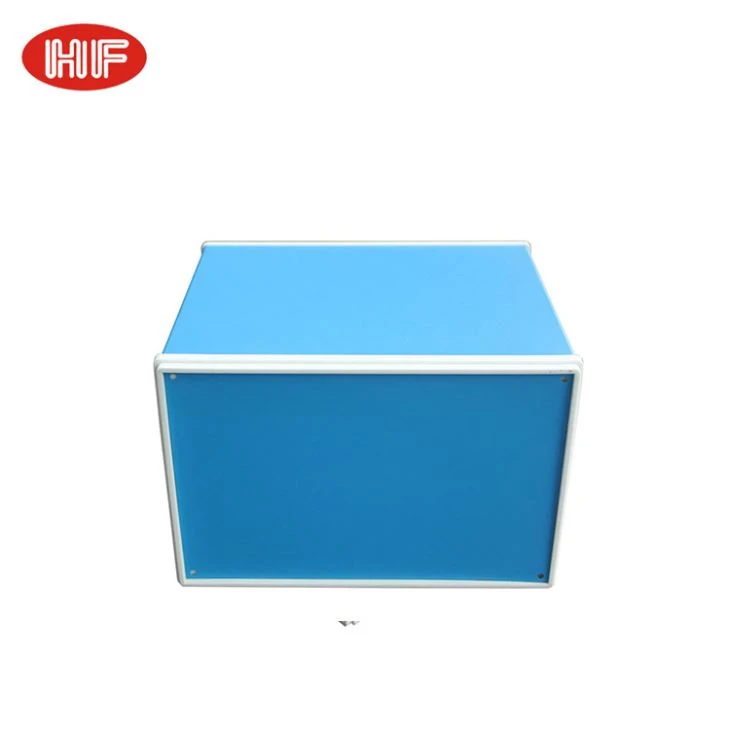
As a metal enclosure box supplier, we offer a wide range of high-quality products to meet your needs. Our products include Sheet metal enclosure aluminum Special shape iron stainless steel case, Sheet Metal Enclosure Electronic Case, and Aluminum Plastic Electrical Chassis Box. All of our products are made from high-quality materials and are designed to provide reliable performance and long-lasting durability.
Contact Us for Purchasing
If you're interested in purchasing our metal enclosure boxes or have any questions about adding a window to a metal enclosure box, please don't hesitate to contact us. Our team of experts is available to assist you with your needs and provide you with the information you need to make an informed decision. We look forward to working with you!
References
- "Metal Enclosure Design Guide" by Industry Standard Publications
- "Sheet Metal Fabrication Handbook" by McGraw-Hill Education
- "Window Installation Manual" by Window Manufacturers Association


