


Hey there! As a supplier of rack mount enclosures, I often get asked about how to install wireless access points in these enclosures. It's a common need, especially in commercial and industrial settings where a reliable and organized network setup is crucial. In this blog post, I'll walk you through the process step by step.
Step 1: Choose the Right Rack Mount Enclosure
First things first, you need to pick the right rack mount enclosure for your wireless access points. The enclosure should be spacious enough to accommodate the access points, along with any additional equipment like power supplies and cables. It should also provide proper ventilation to prevent overheating.
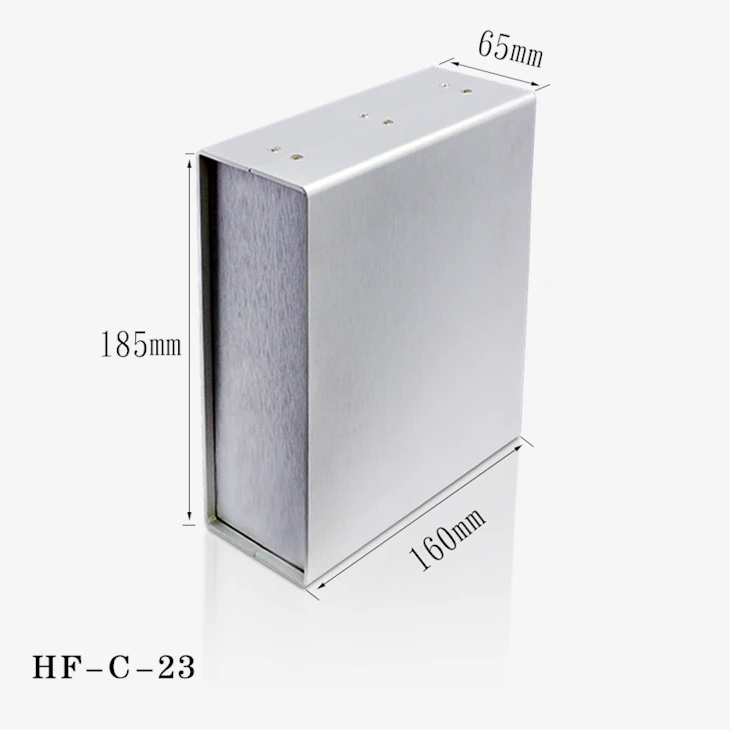
We offer a variety of rack mount enclosures that are designed to meet different needs. For example, our Aluminium Enclosures Can Be Customised For Use As Communication And Broadcast System Servers are made of high - quality aluminum, which is not only lightweight but also provides good protection against electromagnetic interference. These enclosures can be customized to fit your specific requirements, whether you need extra mounting holes or special cut - outs.
Another option is our OEM Custom Lithium Battery Case Aluminum Electric Rack Mount Enclosure. If you're using battery - powered access points, this enclosure is a great choice. It's designed to safely house lithium batteries and the access points, with features like fire - resistant materials and proper insulation.
Step 2: Plan the Layout
Once you've got the right enclosure, it's time to plan the layout. You need to figure out where to place the wireless access points inside the enclosure. Consider factors like signal strength, coverage area, and cable management.
For optimal signal strength, try to place the access points in the center of the enclosure if possible. This helps to ensure that the signal can radiate evenly in all directions. You also want to make sure that there's enough space between the access points to avoid interference.
When it comes to cable management, plan out how the power cables, Ethernet cables, and antenna cables will be routed. You can use cable ties and cable management trays to keep the cables organized. This not only makes the installation look neater but also makes it easier to troubleshoot any issues in the future.
Step 3: Mount the Wireless Access Points
Now that you have a layout plan, it's time to mount the wireless access points in the enclosure. Most rack mount enclosures come with mounting rails or brackets. You'll need to attach the access points to these rails or brackets using screws or other appropriate fasteners.
Make sure that the access points are securely mounted. A loose access point can cause problems with signal stability and may even damage the equipment over time. Follow the manufacturer's instructions for mounting the access points to ensure that you do it correctly.
Step 4: Connect the Cables
After mounting the access points, it's time to connect the cables. Start with the power cables. Make sure that the power supply is compatible with the access points and that the cables are properly plugged in. You may need to use a power distribution unit (PDU) inside the enclosure to manage the power supply.
Next, connect the Ethernet cables. These cables are used to connect the access points to the network. Make sure that the cables are the right length and that they are properly terminated. You can use a cable tester to check the connectivity of the Ethernet cables.
Finally, connect the antenna cables. The antennas are crucial for transmitting and receiving the wireless signals. Make sure that the antennas are properly aligned and that the cables are securely connected.
Step 5: Configure the Wireless Access Points
Once all the cables are connected, it's time to configure the wireless access points. This involves setting up the SSID (network name), password, security settings, and other parameters.
You can usually access the configuration interface of the access points through a web browser. Connect your computer to the same network as the access points and enter the IP address of the access point in the browser's address bar. Follow the on - screen instructions to configure the access points according to your needs.
Step 6: Test the Wireless Network
After configuring the access points, it's important to test the wireless network. Walk around the area where the access points are supposed to provide coverage and try to connect to the network using a wireless device like a laptop or a smartphone.
Check the signal strength and the speed of the connection. If you notice any dead spots or slow areas, you may need to adjust the position of the access points or the antenna settings.
Step 7: Secure the Enclosure
Once you're satisfied with the installation and testing, it's time to secure the enclosure. Close the doors or panels of the enclosure and make sure that they are properly locked. This helps to protect the equipment from dust, dirt, and unauthorized access.
Troubleshooting Tips
Even if you follow all the steps correctly, you may still encounter some issues. Here are some common problems and how to solve them:
- Weak Signal: If you're getting a weak signal, check the antenna connections and the position of the access points. You may need to adjust the antennas or move the access points to a more suitable location.
- Interference: If there's interference, try changing the channel on the access points. You can also check for other wireless devices in the area that may be causing the interference.
- Connectivity Issues: If devices are having trouble connecting to the network, check the Ethernet cables and the configuration settings of the access points. Make sure that the SSID and password are correct.
Conclusion
Installing wireless access points in a rack mount enclosure is not as difficult as it may seem. By following these steps, you can set up a reliable and organized wireless network.
If you're in the market for a rack mount enclosure, we've got you covered. Our enclosures are designed to provide the best protection and functionality for your wireless access points. Whether you need a standard enclosure or a custom - made one, we can help.
We also offer Sheet metal Aluminium Enclosure Raspberry Pi 4 Case if you're looking for a solution for Raspberry Pi - based wireless setups.
If you have any questions or are interested in purchasing our rack mount enclosures, feel free to reach out to us. We're here to help you with all your enclosure needs and ensure that your wireless access point installation goes smoothly.

References
- Various wireless access point manufacturer manuals
- Industry best practices for rack mount enclosure installation


