


Hey there! As a supplier of rack mount enclosures, I often get asked about how to install audio mixers in these enclosures. It might seem a bit daunting at first, but with the right steps and a bit of know - how, you'll have your audio mixer up and running in no time.
First things first, let's talk about why you'd want to use a rack mount enclosure for your audio mixer. Rack mount enclosures are great because they keep your equipment organized, protected, and easy to access. They also help with cable management, which is a huge plus when you're dealing with a bunch of audio cables.
Choosing the Right Rack Mount Enclosure
Before you start the installation process, you need to make sure you've got the right enclosure for your audio mixer. The size of the enclosure is crucial. You'll want to measure your audio mixer carefully, including its height, width, and depth. Rack mount enclosures are typically measured in "rack units" (U). One rack unit is equal to 1.75 inches (44.45 mm). Most audio mixers come in standard sizes, so it's usually easy to find an enclosure that fits.
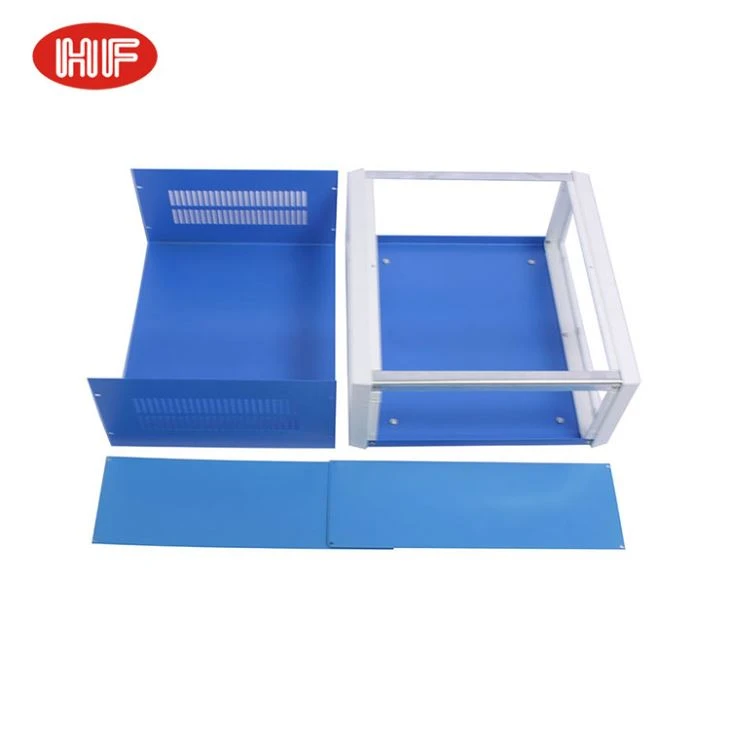
If you're looking for high - quality enclosures, we've got some great options. Check out our Sheet metal enclosure aluminum Special shape iron stainless steel case. These enclosures are made from durable materials and can provide excellent protection for your audio mixer. Also, our Aluminum Enclosure Control Case Power Supply is a great choice if you need a more specialized enclosure for your audio setup. And for those who want the latest in enclosure technology, take a look at our Newest Aluminum Chassis Box In China.
Preparing the Enclosure
Once you've got the right enclosure, it's time to prepare it for the audio mixer installation. Start by cleaning the inside of the enclosure. You don't want any dust or debris getting into your audio mixer. Use a clean, dry cloth to wipe down the interior.
Next, check the mounting rails in the enclosure. Make sure they are securely attached and properly aligned. The mounting rails are what you'll use to attach the audio mixer to the enclosure. If the rails are loose or misaligned, you'll need to tighten or adjust them before proceeding.
Installing the Audio Mixer
Now comes the fun part - installing the audio mixer. First, carefully lift the audio mixer and place it inside the enclosure. Make sure it is centered and aligned with the mounting rails. You might need a friend to help you with this step, especially if the audio mixer is heavy.
Once the mixer is in place, use the appropriate screws to attach it to the mounting rails. Most audio mixers come with mounting holes that are designed to fit standard rack - mount screws. Make sure you tighten the screws securely, but don't over - tighten them. Over - tightening can damage the mixer or the enclosure.
Cable Management
Cable management is an important part of the installation process. A messy cable setup can not only look bad but can also cause interference and other problems with your audio system. Start by organizing your cables before you connect them to the audio mixer. You can use cable ties or Velcro straps to bundle the cables together.
Connect the power cable to the audio mixer first. Make sure the power is turned off before you make any connections. Then, connect the audio input and output cables. Label each cable clearly so you know what it's for. This will make it easier to troubleshoot any problems in the future.
After you've connected all the cables, route them neatly through the enclosure. You can use cable management accessories, such as cable ducts or grommets, to keep the cables in place and prevent them from getting tangled.
Testing the Setup
Once you've installed the audio mixer and managed the cables, it's time to test the setup. Turn on the power to the audio mixer and any other equipment in your audio system. Play some audio through the mixer and check for any signs of problems, such as static, distortion, or no sound at all.
If you encounter any issues, double - check all the connections to make sure they are secure. You might also want to check the settings on the audio mixer to make sure they are configured correctly.
Maintenance and Troubleshooting
To keep your audio mixer and rack mount enclosure in good working condition, it's important to perform regular maintenance. This includes cleaning the enclosure and the mixer, checking the cable connections, and inspecting the mounting hardware.

If you run into any problems with your audio mixer or the enclosure, don't panic. Most issues can be easily fixed. Check the user manual for the audio mixer or the enclosure for troubleshooting tips. If you're still having trouble, feel free to reach out to us for assistance.
Conclusion
Installing an audio mixer in a rack mount enclosure is a relatively straightforward process if you follow the right steps. By choosing the right enclosure, preparing it properly, installing the mixer correctly, managing the cables, and testing the setup, you can have a reliable and high - performing audio system.
If you're in the market for a rack mount enclosure for your audio mixer or any other equipment, we're here to help. We offer a wide range of high - quality enclosures that are designed to meet your needs. Whether you need a standard enclosure or a specialized one, we've got you covered. Contact us to start the procurement negotiation process and find the perfect enclosure for your audio setup.
References
- General knowledge about audio mixer installation and rack mount enclosures.
- Product specifications and information from our company's product catalog.


